
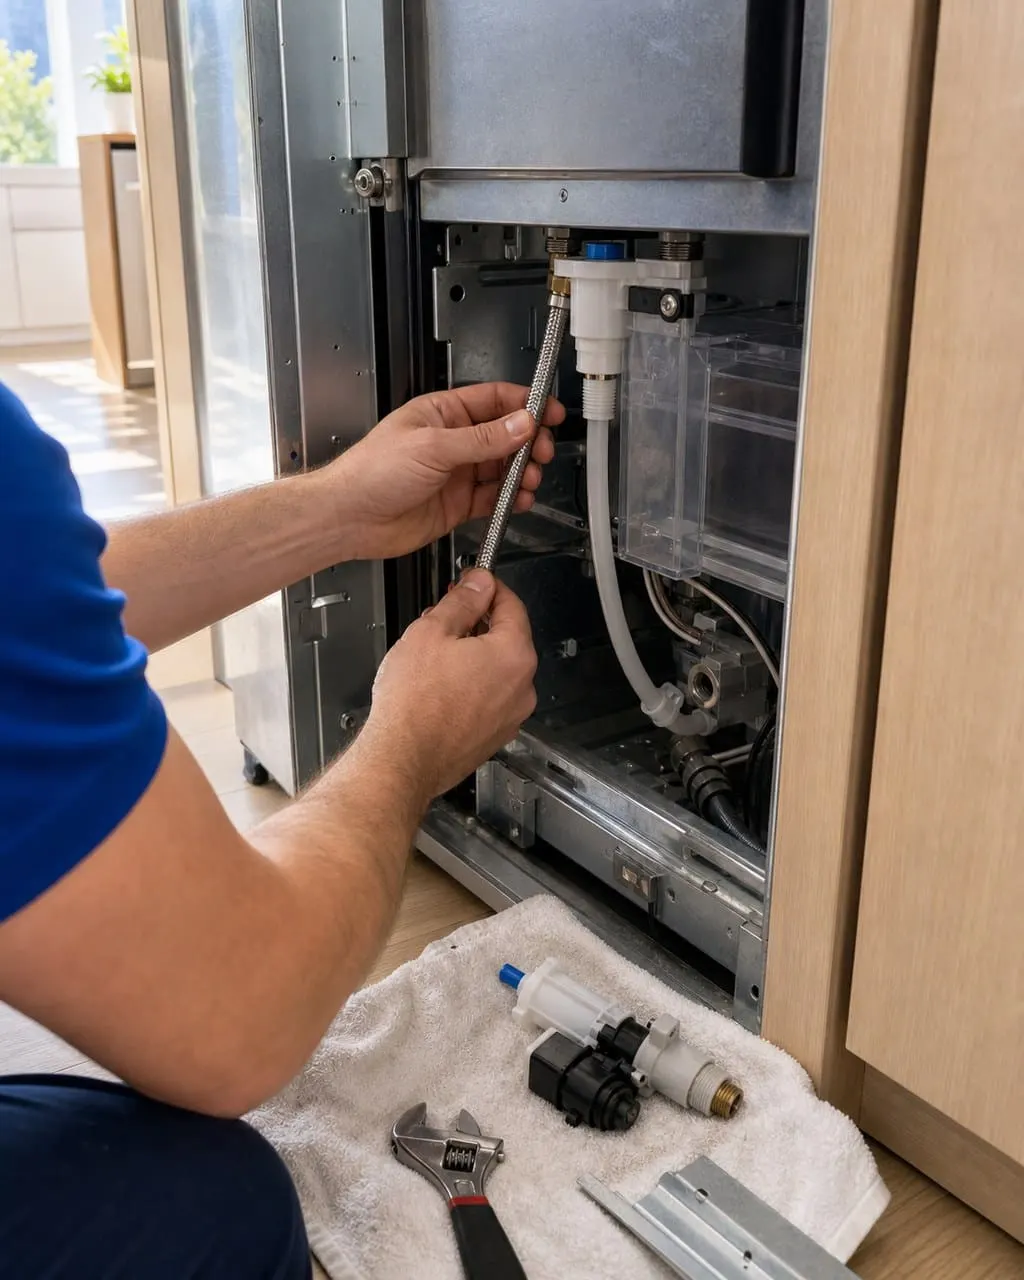
Where the water actually comes from
Owners almost always assume a leaking Sub-Zero is an ice-maker problem. It usually is not. A built-in carries two separate water stories: a supply side that feeds the ice maker and any filtered dispenser, and a drain side that carries defrost meltwater away to a pan near the compressor. A leak can start on either, and the symptom — water on the floor — looks identical from the outside. The job is to read the clues and trace it to the real source rather than swapping parts.
| Source | Telltale sign | Typical fix |
|---|---|---|
| Frozen / scaled defrost drain | Water at the base, ice at the back wall | Clear and reroute the drain |
| Cracked or loose fill line | Drip behind the unit, low ice | Replace line, reseat fittings |
| Drain-pan overflow | Water at the toe-kick after a hot spell | Clear pan, check evaporation |
| Filter housing / head | Damp seam near the filter | Reseal or replace the housing |
| Door / gasket condensation | Trickle down the front, sweating seal | Gasket and humidity check |
A built-in often shows more than one clue at once — we confirm the source before any part is replaced.
If the back wall is also iced up, the leak is tied to the defrost circuit — see EC 24 / EC 25 defrost codes. If the trouble is the supply or the ice maker fill, the ice maker & water line page covers it in detail.
Why a built-in hides a slow leak in Sunnyvale
A freestanding fridge leaks onto open floor where you see it within hours. A panel-ready Sub-Zero is the opposite: it is set flush into a cabinet run, often over a finished hardwood or engineered floor, with the leak path hidden behind the toe-kick. In the downtown Murphy Avenue stacks and the older Lakewood Village and Ponderosa Park condos, a slow drip can wick into the cabinet base and subfloor for days before a warped panel or a musty smell gives it away. That is why a small leak is worth acting on the same week, not the same month.
Reaching the drain, the fill line and the pan means easing the unit out of its opening. We use a cabinet-safe pull-out with floor runners so panel-ready fronts and flooring stay unmarked, the same way we handle condo and HOA access.
What a leak repair costs in Sunnyvale
| Repair | Draft range | Time |
|---|---|---|
| Diagnostic / service visit | $89 | 45–90 min |
| Clear & reroute defrost drain | $160–$340 | 1–2 h |
| Water line / fittings | $180–$420 | 1–2 h |
| Filter housing / head reseal | $190–$460 | 1–2 h |
| Drain pan / evaporation issue | $220–$520 | 1–2 h |
Draft ranges for planning only; the final quote follows the confirmed source on-site.
The $89 visit is waived when you book the repair, every job is backed 365 days on labor, and we fit genuine OEM Sub-Zero parts. See the repair pricing guide for the full picture.
What to do when your Sub-Zero is leaking
These steps protect your cabinetry and speed the diagnosis. The goal is to stop the water and note the clues, not to chase the leak apart yourself.
- 1 Mop and dry the area
Soak up the puddle and dry the toe-kick so you can tell whether the leak is active and roughly how fast. A towel left down overnight also shows where new water appears.
- 2 Find where it starts
Look for water at the base versus a drip behind the unit. Front-and-floor often means the defrost drain or pan; behind the unit points to the supply or fill line.
- 3 Check the back wall for ice
Open the compartment and look for a frost or ice wall. Ice plus a floor puddle usually means a frozen defrost drain — note it for the technician.
- 4 Shut the water off if it is soaking
If the cabinet base or flooring is getting wet, close the supply shut-off behind or below the unit and stop running it until it is looked at.
- 5 Book the visit
Tell us where the water shows and whether you saw ice. That detail lets us bring the right OEM parts and plan a cabinet-safe pull on the first trip.